My Basic Lightroom workflow
04 July 2017
Hello. In this blog post I’m going to share with you my workflow in Adobe Lightroom. Lightroom is the tool chosen by many photographers for photo editing and management. After reading this post you will have a basic understanding of the steps involved, and what goes into the photos I produce. There are 4 main steps to consider when producing pictures. Importing, rating the images, editing them, and finally exporting the final pictures.
STEP 1. IMPORT PHOTOS INTO LIGHTROOM
First task is to import the pictures into lightroom’s catalogue. Importing is done by pressing the “import” button in the grid view, or selecting file > import photos and video…
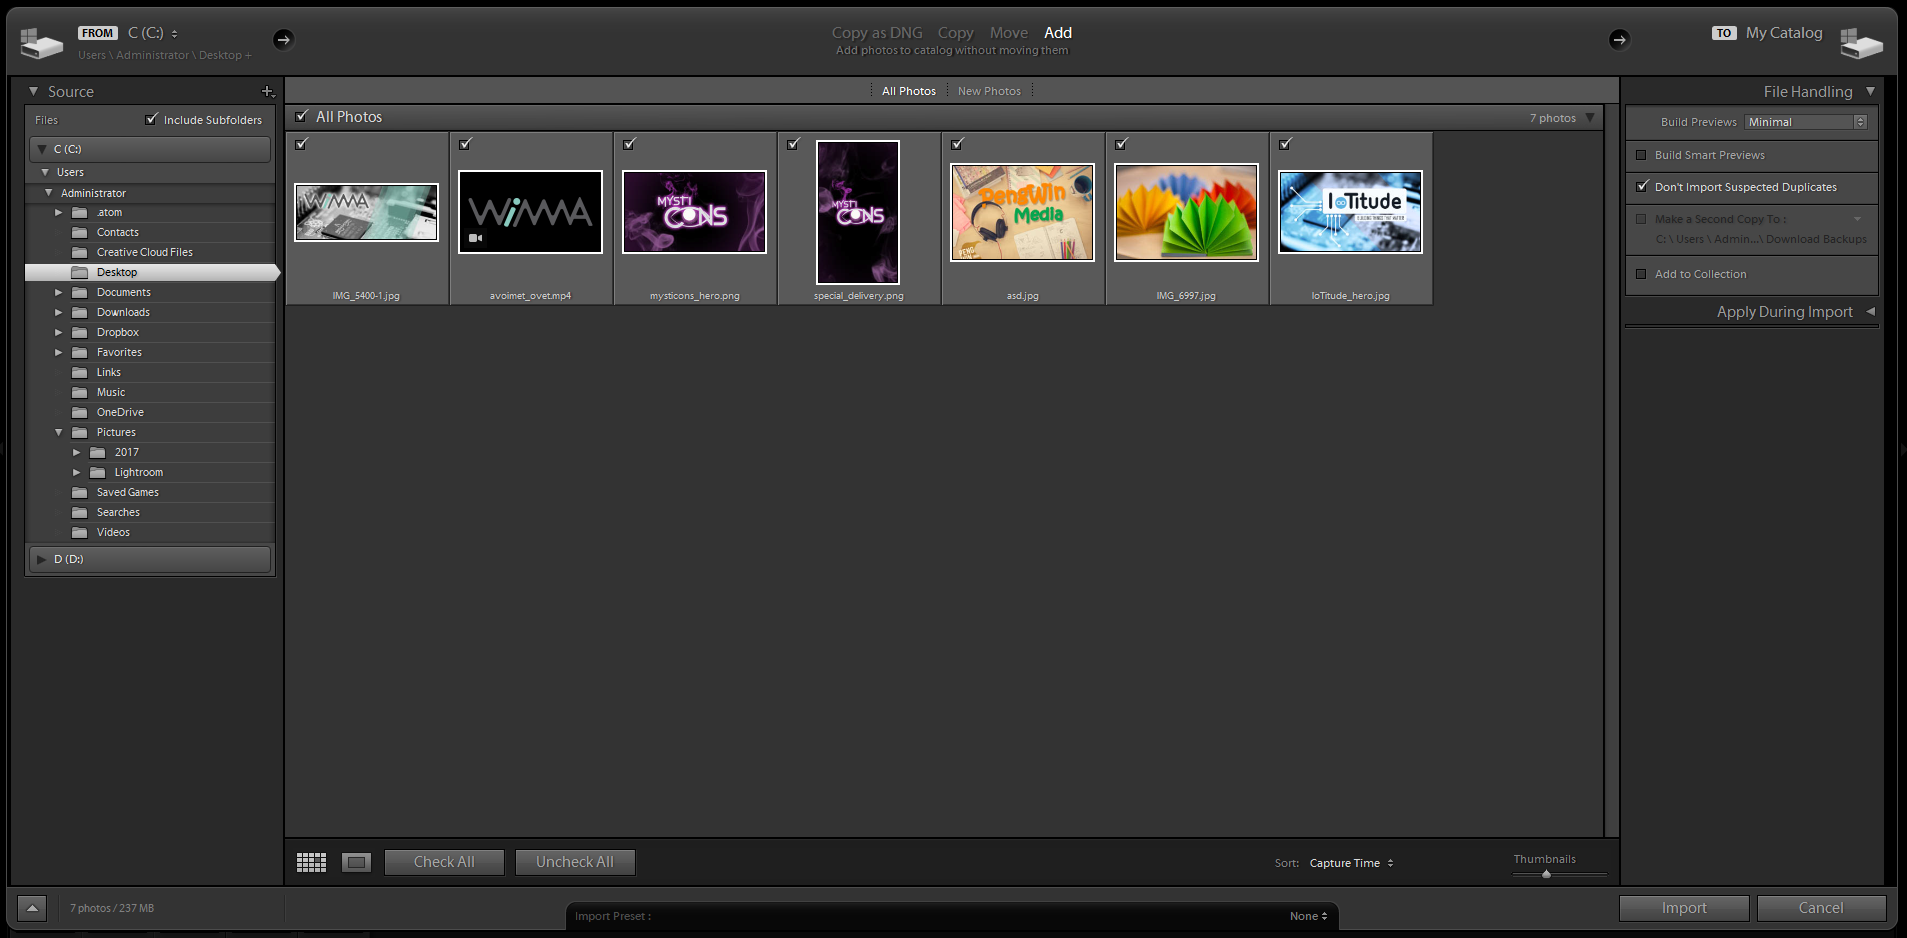
Lightroom import dialog
STEP 2. SELECT BEST PHOTOS FOR EDITING
Selecting the photos is very critical point in the process. Lightroom has many useful tools for rating and managing your photo library, for example rating and flagging. First thing I like to do is rate the photos very roughly, either 1 or 0. Zero means the photo has been rejected, and 1 means the photo is going to get the basic edits. After the basic edits I like to re-rate the photos. This way I manage to select only the best shots.
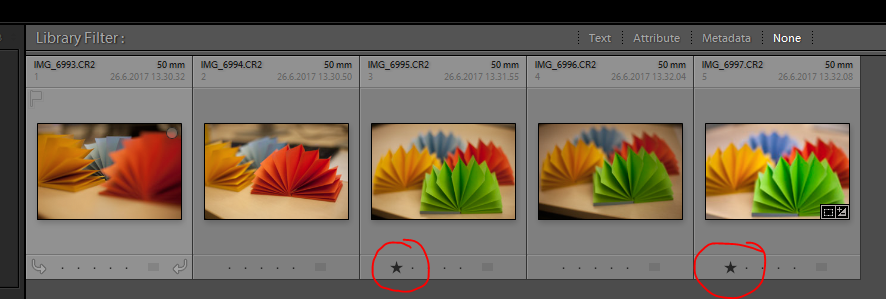
Couple of photos have been rated "1 star"
STEP 3. EDITING THE SELECTED PHOTOS
After the initial rating, it is time to edit the photos. First thing to do is to view only the photos which are rated as 1 star. This is called filtering, and it’s done by selecting the option shown in the photo below.
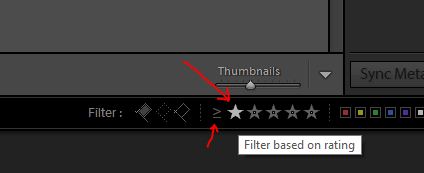
Filtering photos based on rating
It is important to select >=-option (one start or higher), as the small arrow shows in the photo. Clicking the leftmost star enables filter which shows every photo that is rated 1 star or higher. Now you see only photos which are rated 1 or higher.
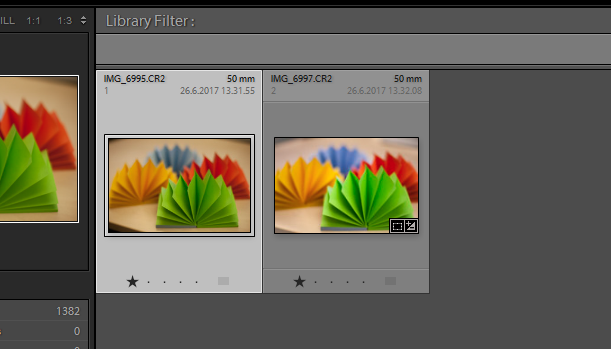
Photos rated 1 or higher
Now is the time for basic editing. Editing is done in the Develop-module, and it can be accessed by clicking “develop” in the right upper corner of the screen, or pressing “D” on your keyboard.
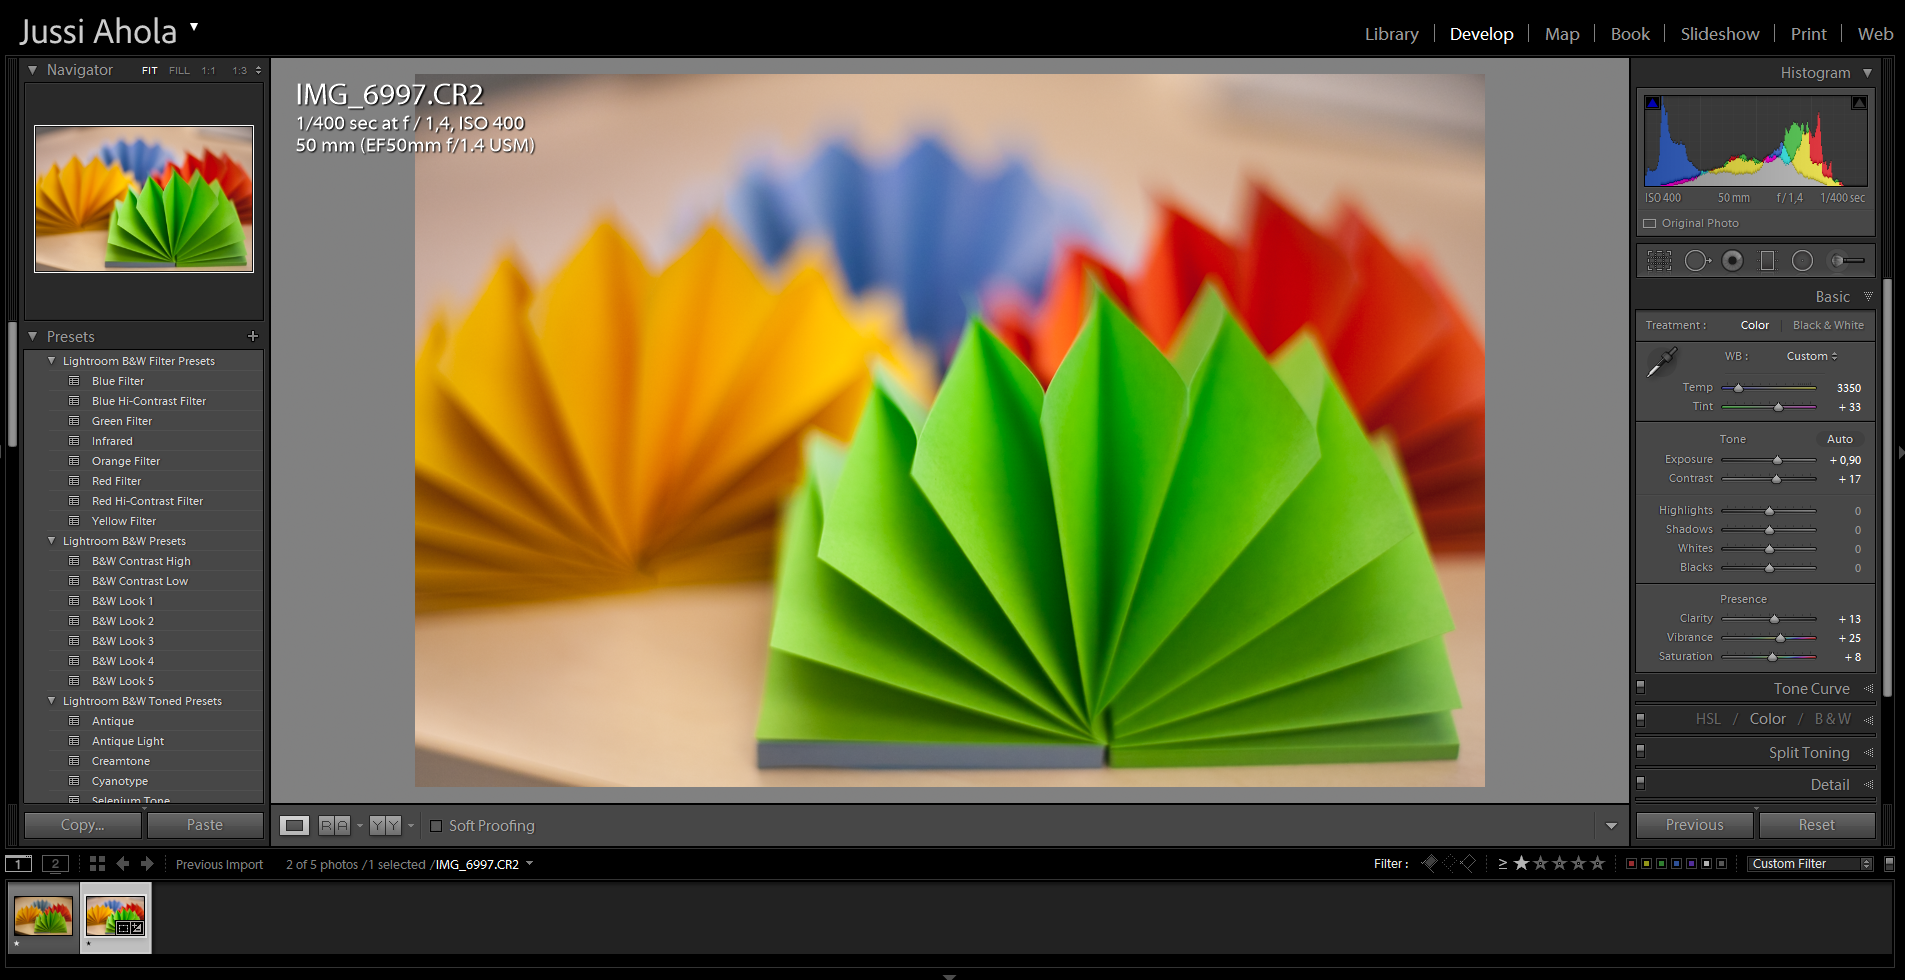
Develop Module
In the develop-module you have all the tools you need for editing the photos. On the right you have your sliders and adjustments, and on the right you see lightroom presets, and the presets you may have created yourself. On the bottom you see a strip of photos you filtered in the last step.
** My Basic Edits**
- Crop and straighten the photo
- Adjust exposure and white balance
- Adjust colors (saturation, vibrance, sometimes hue)
- Apply sharpening and remove chromatic aberration, if needed.
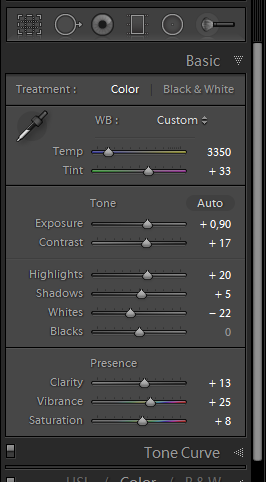
Some Adjustments were made to the photo
STEP 4. EXPORTING PHOTOS FROM LIGHTROOM
After the editing, it is time to export the photos from lightroom, so they can be used anywhere. Select all the photos you want to export, and then open the export dialog. Export dialog can be accessed by clicking File > Export
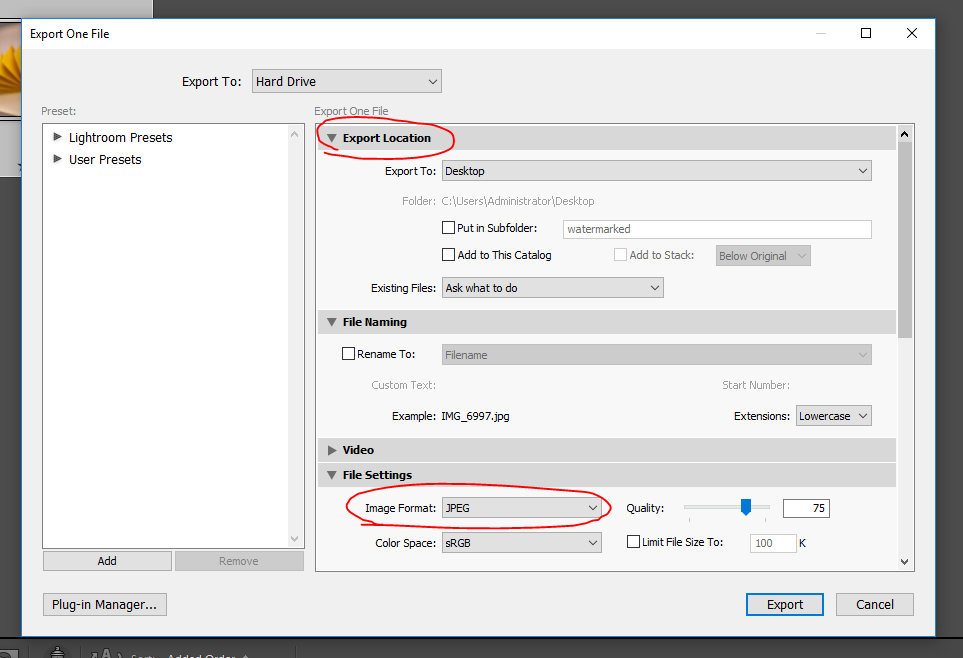
It is important to select the export location, and a proper image format, such as JPEG. The quality of the export can be adjusted, and the file size changes accordingly. Increasing quality increases the file size. It is possible to apply some sharpening and watermarks as well, but I will not explain those in detail here. After you have the settings dialed in, press “Export”, and you are done.
That’s it. This is my most basic workflow in the Adobe Lightroom CC, when editing photos at WIMMA Lab. In the future posts I might write about some effects, such as Black and White, and the integration between Photoshop and Lightroom.
by Jussi Ahola